Design Brief
|
|
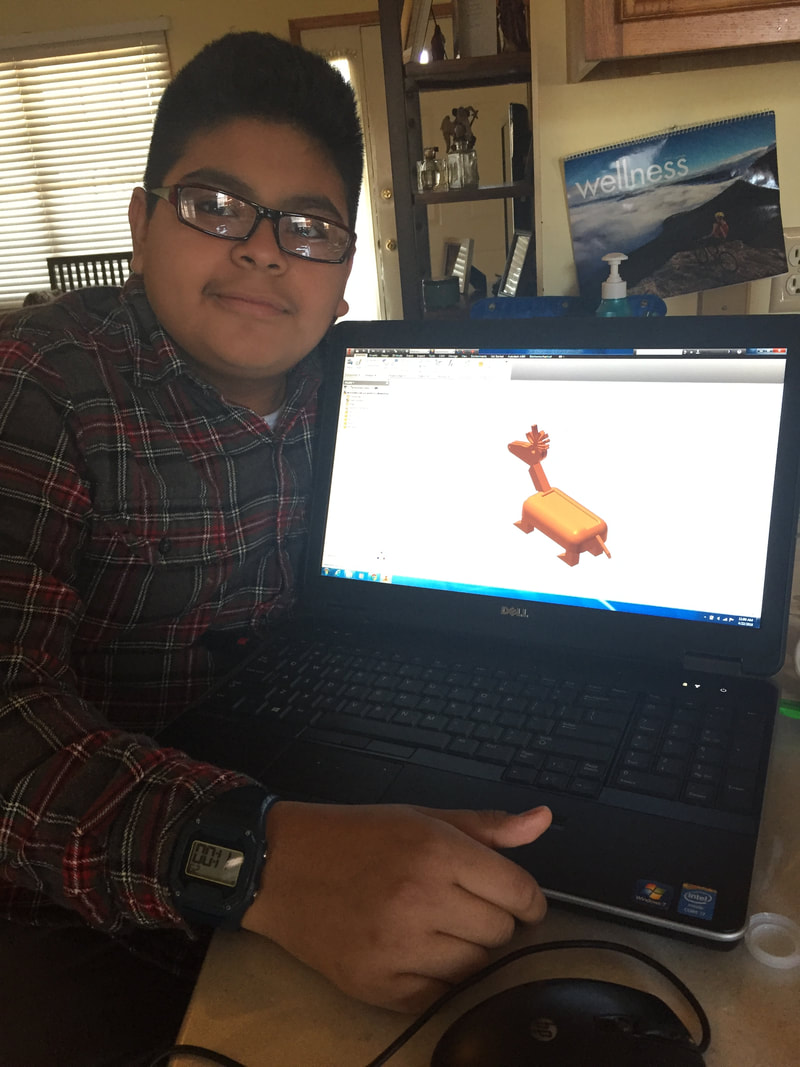
Generating Concepts
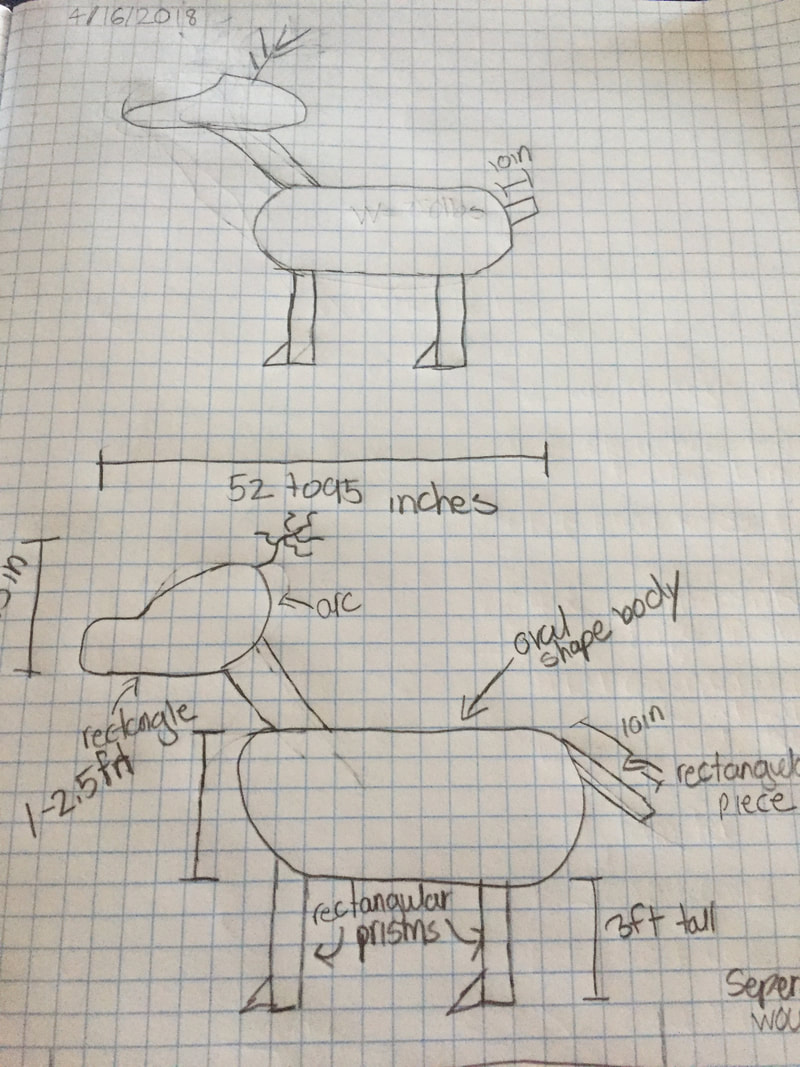
Develop a solution
Construct and test a prototype
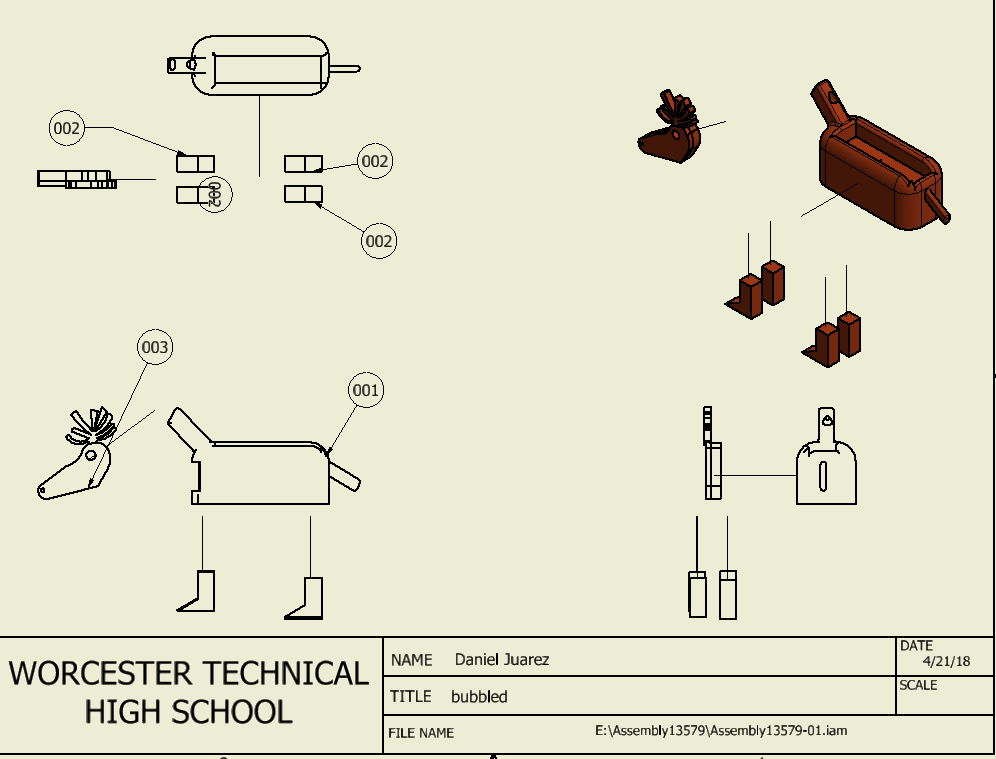
To constrain the legs to the body I mated one leg with the bottom of the body, flushed it with all sides of the whole i made helping it lock in place, next instead of repeating this process over and over instead i decide to mate the legs with the whole their supposed to go in then having them be flush with the first leg on its sides so that they were all equal and in place. The first time i mated it to the body it stayed in the elevation but could still move in every direction, but when i flushed it with the sides it woul only be able to move up and down or left and right.

Evaluate the solution
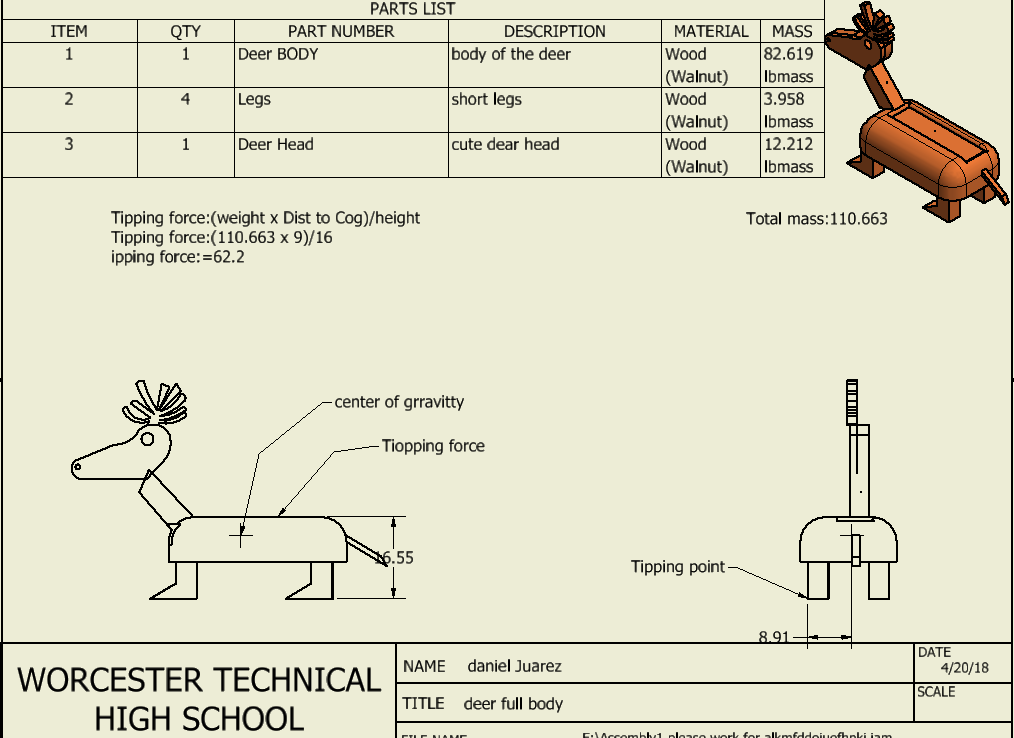
I compared the final design to the design criteria by calculating the weight, and made three separate parts to combine into the deer.
I had to adjust a lot of things because when my deer was fully assembled it weighed 300 lbs and i had to keep add holes and indents before finally it weighed less then 125 lbs, but then when i calculated my tipping force it only had a tipping force of 31 lbs so to change this i made my deer shorter and wider so that when i multiplied i got a bigger number and had to divide by less. The calculations tell the design process what its constraints are and how your ideas, technical drawings even your prototype can be affected just by your calculations. The appropriate next steps are trial and error, just keep trying until you get the right calculations to were it fits with everything else.
I had to adjust a lot of things because when my deer was fully assembled it weighed 300 lbs and i had to keep add holes and indents before finally it weighed less then 125 lbs, but then when i calculated my tipping force it only had a tipping force of 31 lbs so to change this i made my deer shorter and wider so that when i multiplied i got a bigger number and had to divide by less. The calculations tell the design process what its constraints are and how your ideas, technical drawings even your prototype can be affected just by your calculations. The appropriate next steps are trial and error, just keep trying until you get the right calculations to were it fits with everything else.
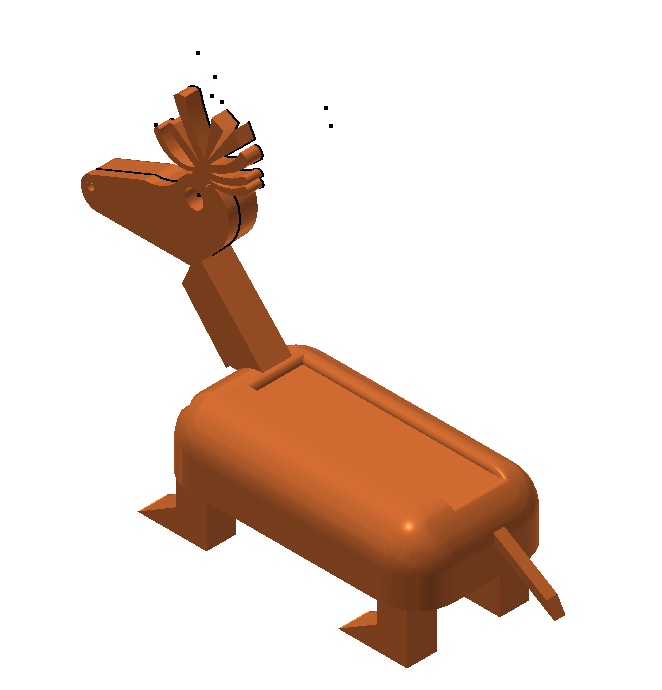
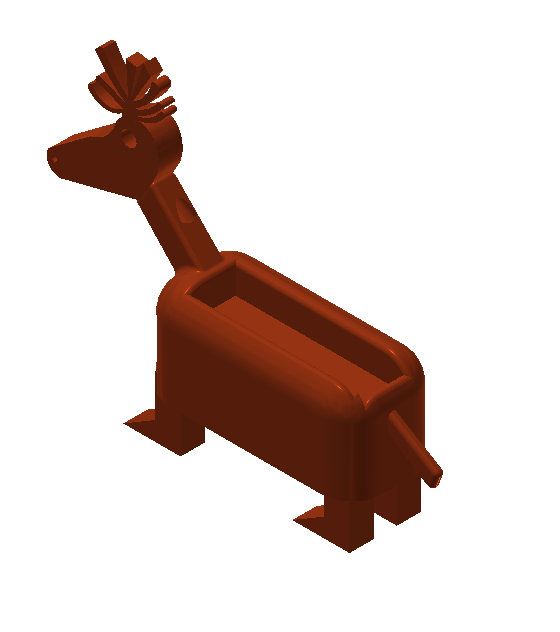
After Adjustments Before Adjustments
|
|
Present the solution
When i first finished my build it weighted around 300 lbs, so to get it to fit the constraints i used the additive and subtraction method to add indents, holes, etc to get my build to standers. Also i had to take a lot from the legs to make it shorter so that the height was a small number, and i also made the base bigger so that my tipping point was farther away from center of gravity. When my figure was in sketch mode it always in the middle of it and it made it more difficult to edit or change parts of the deer. This is supported by environmental, manufacturing, because it can be easily made and doesn't use so much wood. It can be easily made fast and quick , and a couple could be made with just one log of wood. I did use some new features like joint because mating it wasn't working at the time but the only situation with that was it would rotate my legs backwards. I did run in trouble because my head wouldn't mate with the neck, the top kept extruding through the build and when i fixed it didn't change. I did learn that having a wider base helps make the tipping force greater and more difficult to push over.
